First run / OLYMPUS 2249
Your first run through Radius
Use a preset for your first character, read the organizer when a quest stalls, and choose a tutorial route that matches your non-combat specialization.
For your first Olympus 2249 run, use a character preset, read the conversations that introduce your tasks, and follow a route suited to your non-combat specialization. Before a fight, check positioning and supplies. After it, check wounds as well as health. Those habits matter more than copying a build that promises access to every quest.
This guide follows the opening decisions in order. If you are already blocked, jump to the sewer and gas-mask routes or Bonnie's windmill location. Otherwise, use the sequence below to build a workable routine for the first hub and its surrounding areas.
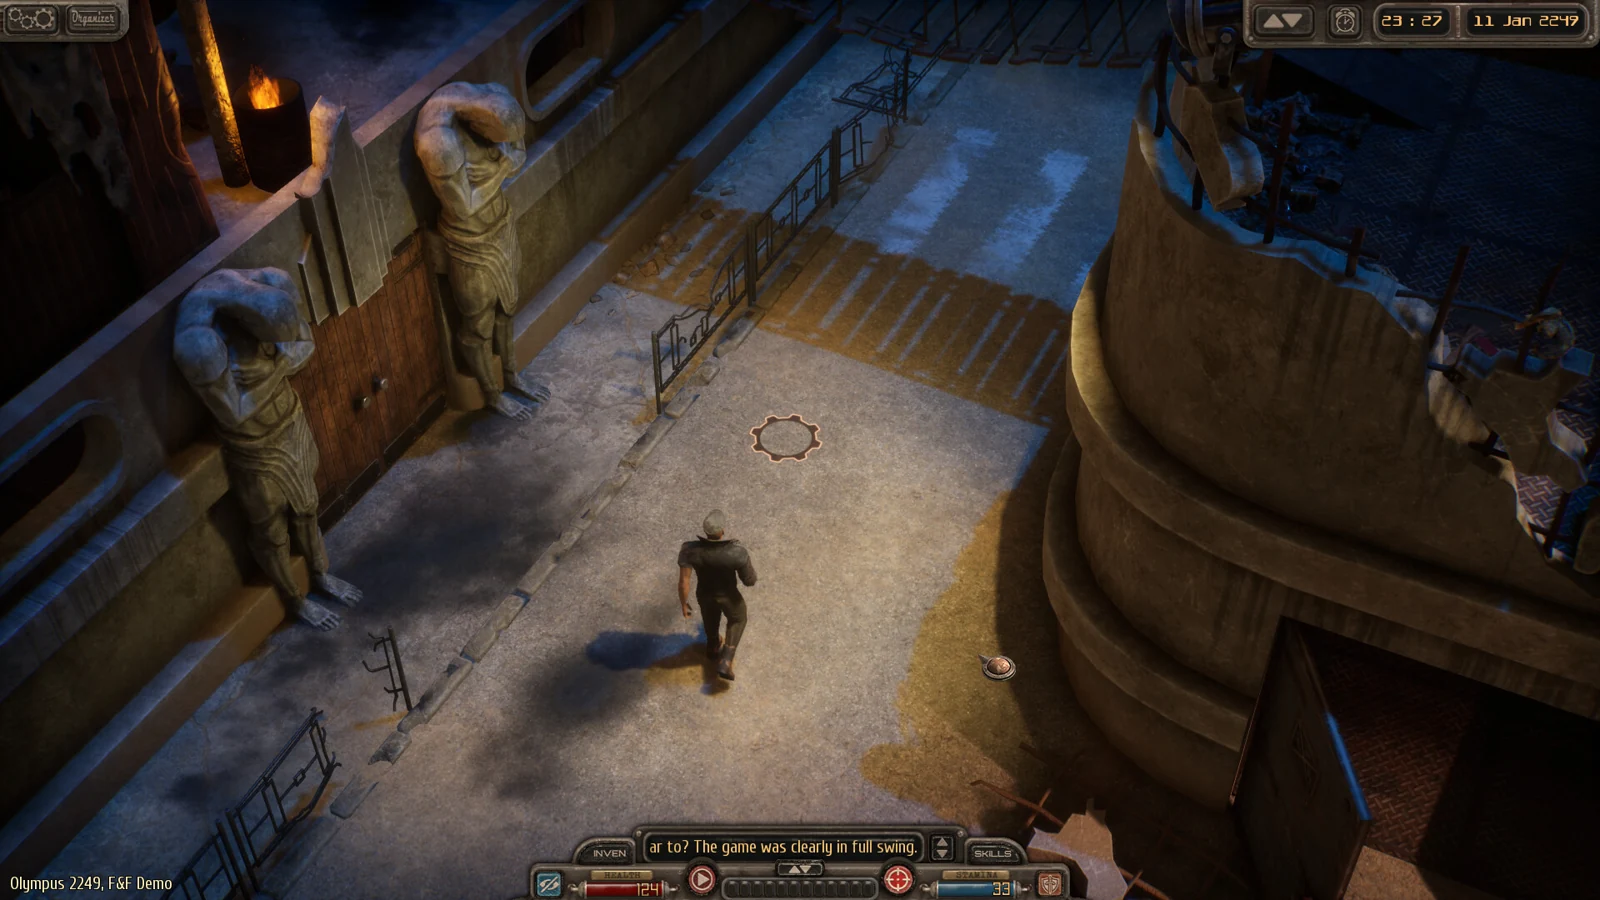
A useful route starts with reading the local layout. Olympus 2249 gives directions through conversations and named places.
Know what this first run contains
The Early Access launch covers Act 1: the first hub city and its surroundings. The developer estimates roughly three to seven hours for a single run, depending on how you play. Different characters and decisions produce different routes, so a second run can be worthwhile without replaying exactly the same sequence.
Do not rush through the opening to reach a later act that is still in development. Use this part of the game to learn the relationship between profession, karma and practical interactions. The full three-act story and its longer playtime belong to the roadmap; the Early Access page explains the distinction.
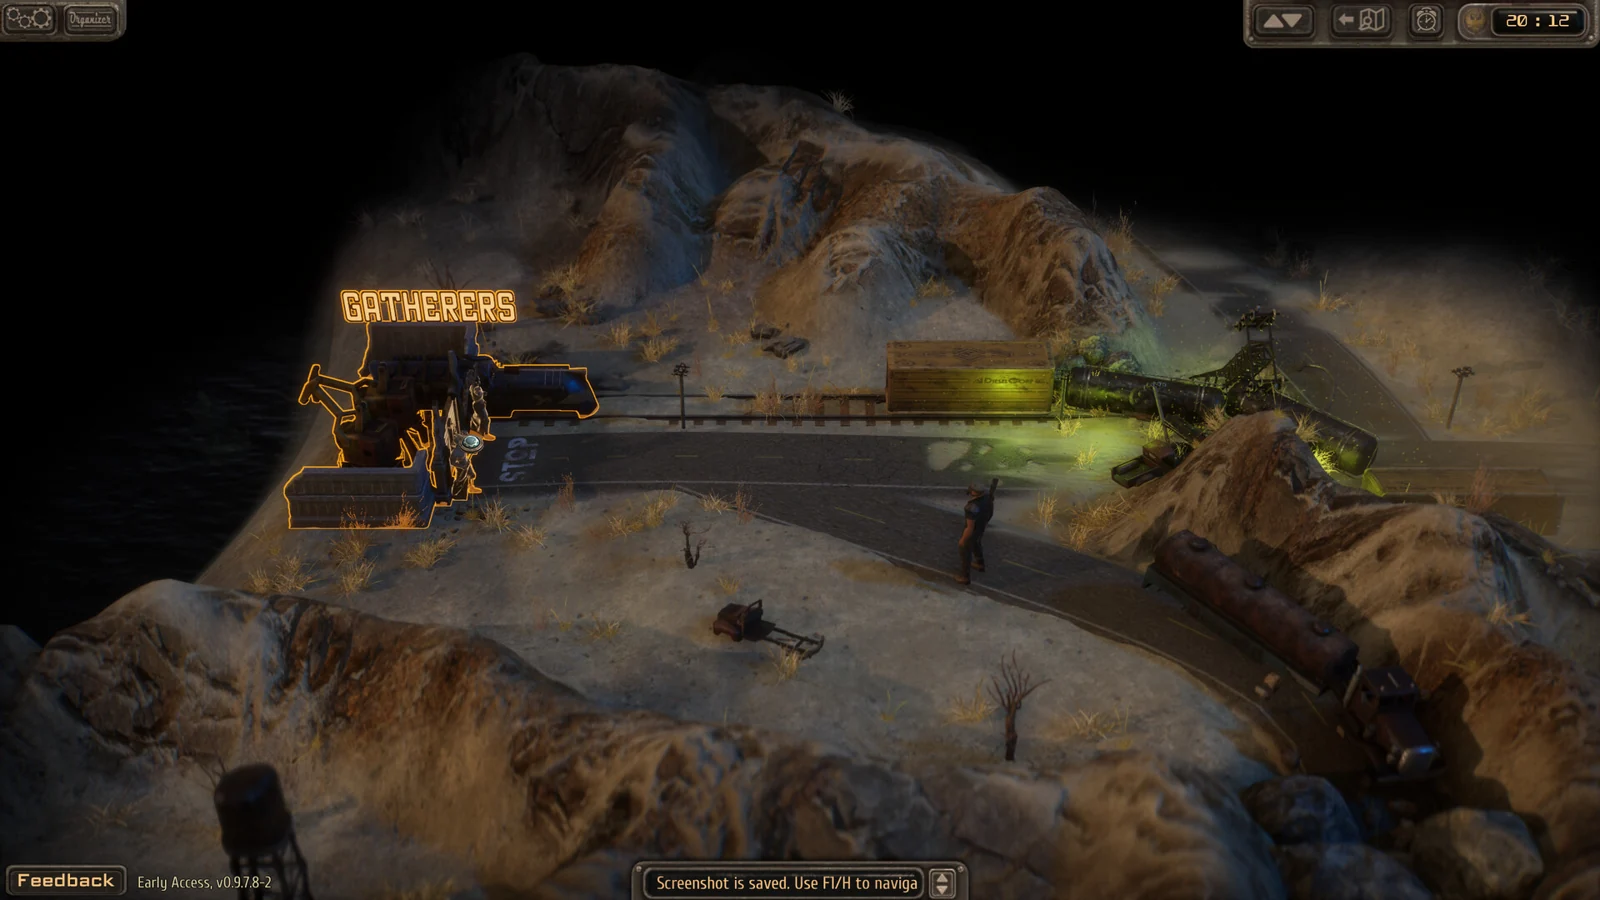
You do not need to finish Olympus 2207 first. The stories stand alone, although returning players may recognize references. Your hero begins in the southwest of Radius among the Gatherers. That is enough context to start: listen to the people introducing the local situation and work outward from the tasks they give you.
Make a character whose limits you understand
The developer recommends one of the four presets for a first playthrough. A preset lets you learn how a coherent character works before trying to optimize each attribute. Read its two specializations before confirming it: the combat choice describes your fighting direction, while the non-combat choice influences work and quest solutions.
If you make a custom character, begin with a short description of how you want to play. A distant fighter who handles technical problems is a clearer aim than “good at everything.” When a new option is tempting, compare it with that aim. A point or perk serving a different plan may leave your original plan less effective.
Attributes come in opposing pairs. The developer's example is Strength and Agility: Strength 6 caps Agility at 4. Increasing one side can reduce your options on the other. Middle values are not automatically the best compromise, because they can sacrifice the strengths a specialized character uses.
Agility helps with action points, but AP is only part of combat effectiveness. A build also needs a suitable weapon, useful abilities and sensible positioning. Do not restart merely because a different character seems able to perform one more ordinary action; first check whether your character has a better way to use stamina or a different firing mode.
Choose a profession you want to use
Your peaceful specialization affects more than dialogue flavor. Technical work can involve an actual repair interaction. Medical work can require assessing a patient's condition and selecting the appropriate treatment. The game moves practical checks out of conversation and into what your character does in the world.
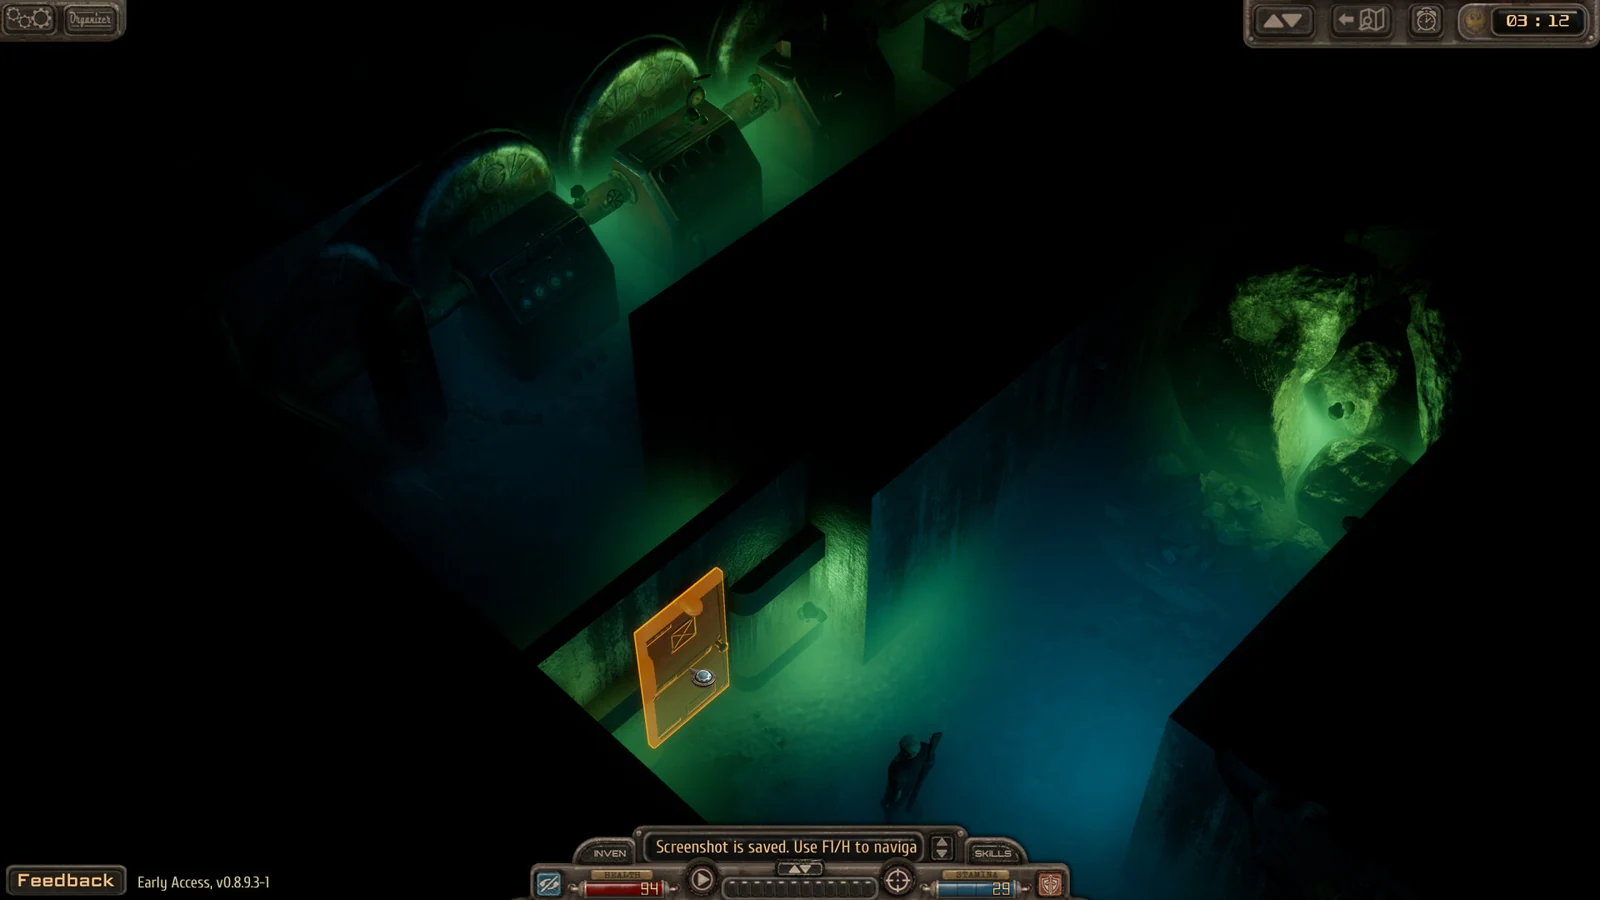
This becomes visible in the tutorial. The developer says the sewer route is for Tech characters, and the starting gas mask is for the medical specialization. A Criminal player in the sewer discussion found a back-door route. These differences mean that an item absent from your run can be a branch condition rather than a hidden-object puzzle.
Choose a profession because you want its wider role, not just because one opening video uses its route. If a guide describes a repair kit or protective item, compare the guide's character with yours before searching for the same supply. A route that works for one profession may not be the route your character is meant to follow.
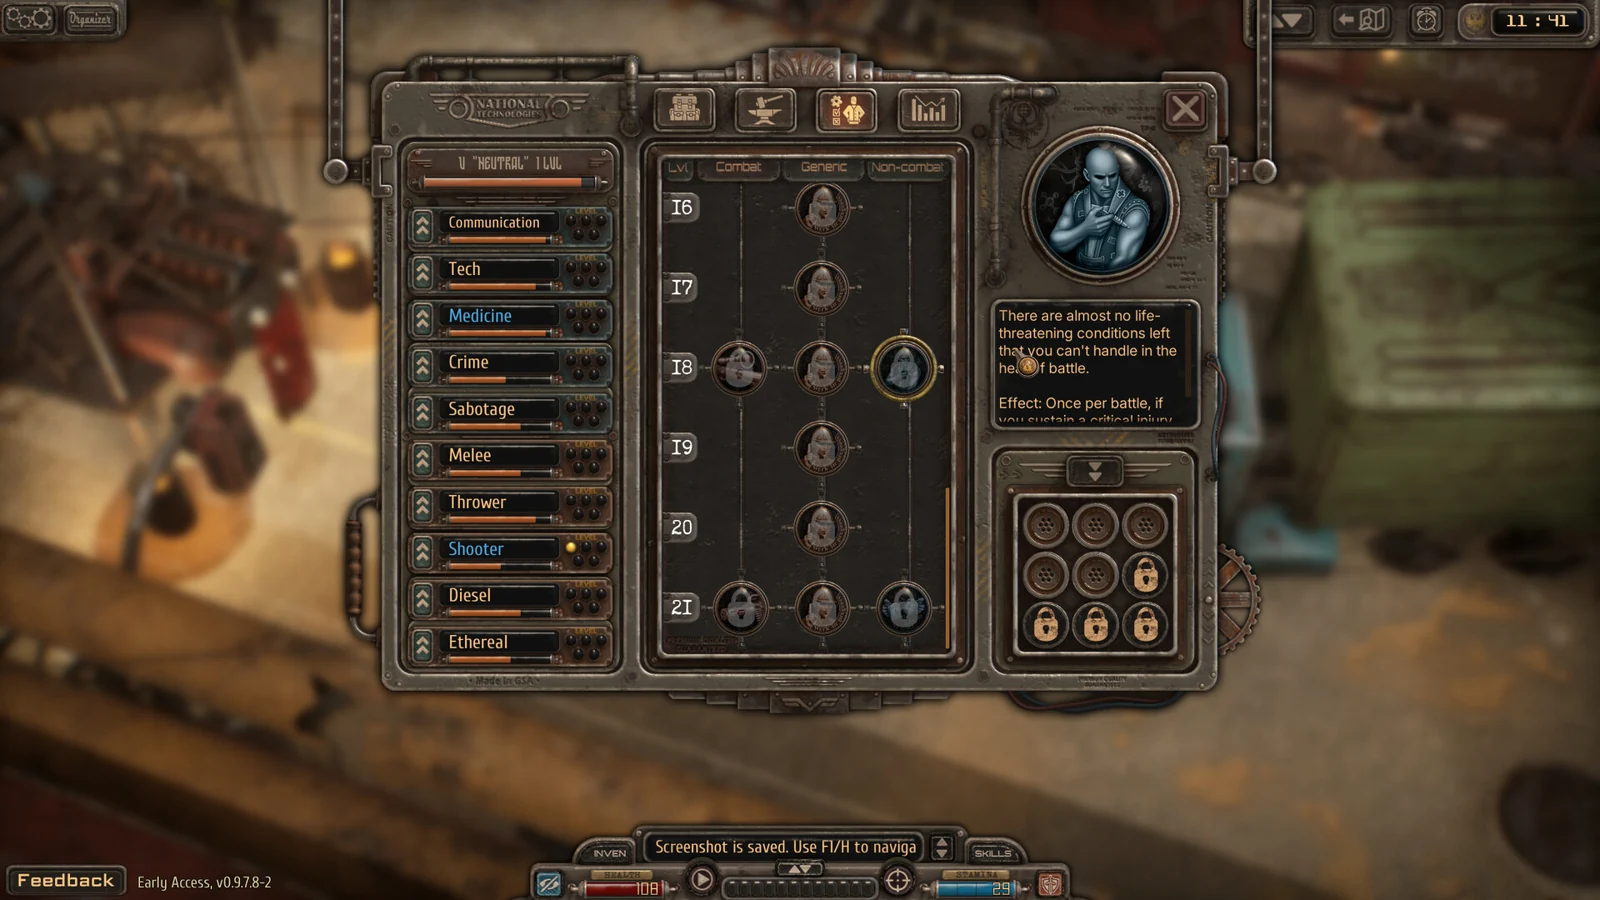
Selected skills advance faster and unlock specialization options. Give those skills a chance to contribute. When a task sounds suitable for your profession, examine the relevant person or object instead of immediately assuming the only available solution is combat. For the detailed trade-offs, see character creation and karma.
Decide how you want to behave
Karma determines available conversation choices, quests and some possible outcomes. Your character can use the choices of their own type and neighboring types. Neutral, for example, also has Rascal and Optimist responses. Those choices can accumulate points and gradually change the character's karma.
Read the entire response before choosing it. A line that seems useful for the immediate reward may move the character toward a different personality. That can be a satisfying roleplaying choice, but it has consequences for later work. You cannot assume every faction remains available regardless of how you behave.
The navigation diary illustrates this with the Vultures: a Moralist cannot join them, while an Optimist faces an especially dirty admission task. When a branch closes, consider the character's values before assuming you missed a key. A different personality may see an entirely different version of that opportunity.
For a first run, consistency makes these effects easier to understand. Choose the response that fits the character you intend to play, observe how the world reacts, and let another run explore the choices you passed over. Trying to preserve every possible route can make individual decisions less clear without actually keeping every route open.
Use the organizer before wandering farther
Olympus 2249 deliberately avoids highlighted routes and conventional quest markers. Navigation information comes from conversations. The organizer keeps dialogue records and relevant quest hints; the map and mini-map provide the local picture. These are tools for solving a destination, not optional background reading.
When a task begins, identify three pieces of information: the named area, the nearby landmark and the person or object to interact with. A conversation may provide only part of the set. The quest entry can condense the objective, and a lightbulb hint can add a place name. Some entries have those hints; do not expect one on every task.
If you become lost, reread before walking into another district. Look for a location word you missed, a building mentioned as a landmark or an object more specific than the area itself. The target might be a control panel on a locomotive rather than any machine in an industrial-looking yard.
Bonnie's windmill task shows the method. The panel is on a locomotive in Wharf, near the Hall of Knowledge and infirmary; the dialogue also mentions desalination plants. Those clues describe one place from different angles. The Bonnie guide puts them in a search sequence you can follow without a route marker.
Work through an opening dead end
Start by distinguishing a refused interaction from a control problem. If the game tells you that you cannot use an entrance or complete an action, read its requirements and check the profession. If control stops altogether during a sequence, check the launch issues rather than trying to solve it with another item.
For an ordinary navigation block, return to the conversation introducing the objective. Read the current quest entry and any attached hint. Compare it with the map, then inspect the alternate connected spaces. The developer recommends this approach in response to the tutorial sewer problem.
For a Tech character, the sewer is a relevant opening lead. For the medical profession, the starting mask is relevant. If you chose Criminal, check the back-door approach described in the community discussion. Do not combine all three into a shopping list that every build must complete.
Avoid pushing through poison just because you cannot find the mask used on an earlier run. A player who restarted reported that the mask disappeared despite higher perception; the developer clarified the profession requirement. More searching or more perception would not address that particular difference. Reconsider the route before accepting damage as the cost of progress.
Explore with a reason to look closely
Locations are compact and often have several levels or routes to important points. That makes a short detour useful: check a connected room, inspect a relevant object or see whether another entrance fits your character. It does not mean every door leads to a quest solution, but it gives you alternatives to following the most obvious corridor.
Exploration can reveal useful items, recipes and stashes. The developer emphasizes that stashes are not highlighted by the item hotkey. If you rely only on highlighted objects, you can overlook discoveries that need visual attention. Look at the scene itself and inspect places that appear deliberately tucked away.
There are also small progression opportunities outside the main tasks. The roleplaying diary mentions a shooting range near the hero's home, where shooting bottles grants experience. That is an example of rewarding attention to the surroundings rather than demanding another dangerous fight.
Use town fast-travel points when available, especially after you understand the district layout. They reduce repeated walking, but do not replace learning which landmark belongs to which area. Outside town, watch the radiation counter and account for random encounters. A journey is part of the survival plan, not just a menu transition to the next task.
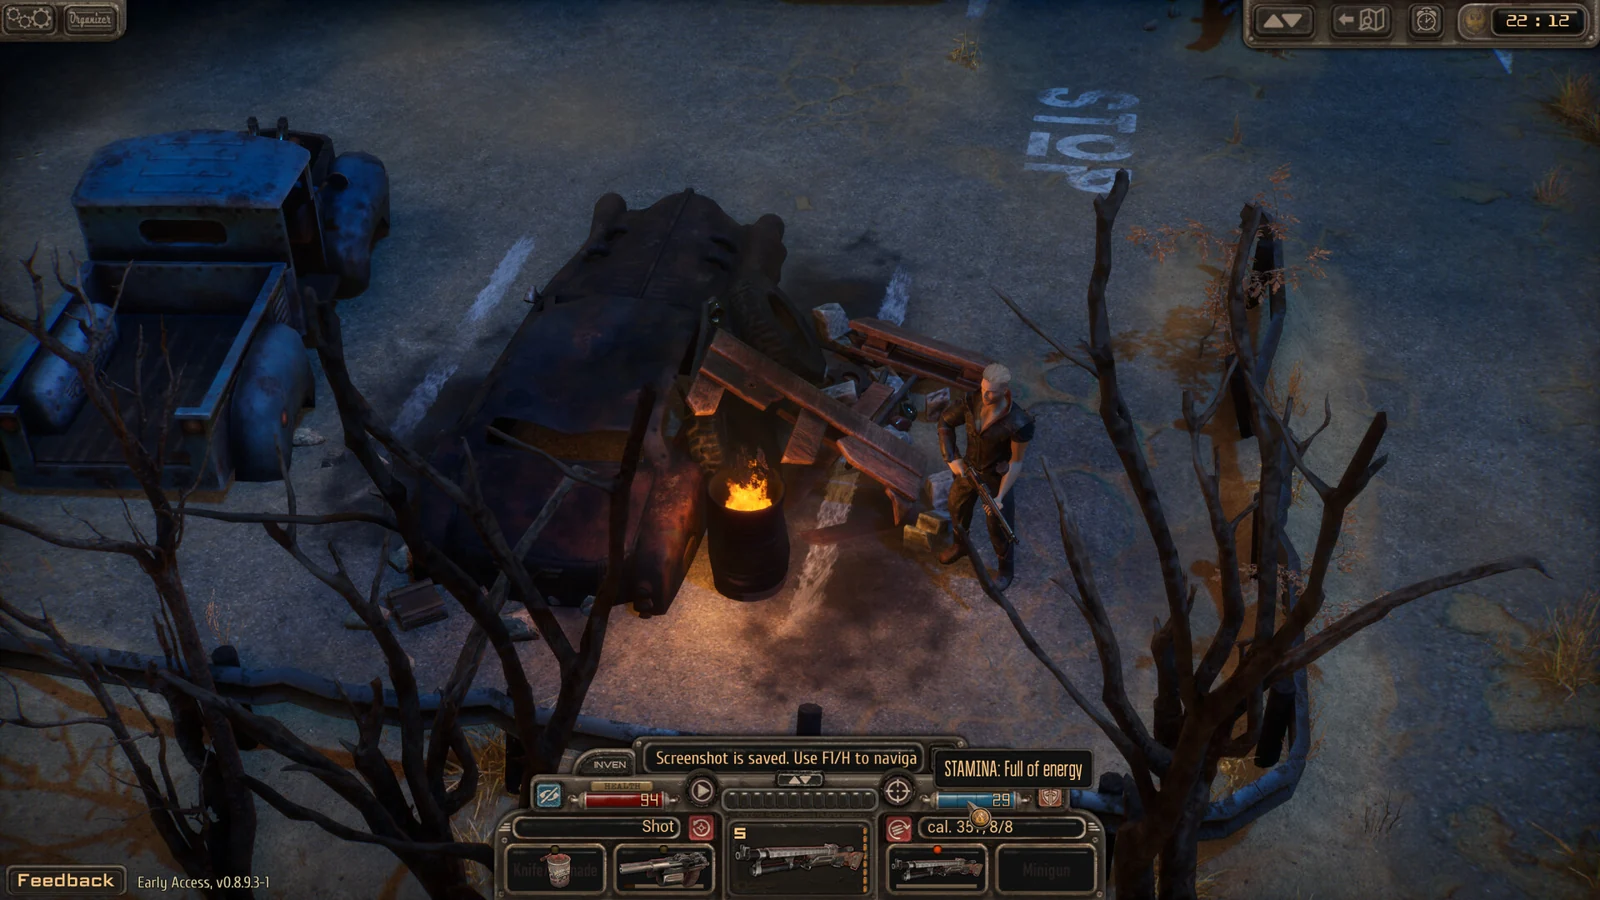
Exploration connects the main objectives with supplies, side tasks and smaller discoveries. Check your condition before traveling onward.
Prepare a fight before the first shot
Look at the weapon you intend to use and the supplies available for it. Inspect its firing modes instead of assuming the default action is the most efficient. The developer cites a two-shot mode as one way to use AP effectively. That advice depends on the weapon offering the mode and the current fight making it useful.
Check your active abilities and stamina. Special options can help with movement, control or an enemy that gets too close. Knowing those options before the fight makes it easier to react without spending an entire turn discovering that a different resource can solve the problem.
Review health and injuries before accepting another encounter. If a wound affects shooting, your plan may need a different position or treatment first. Carrying on with a damaged character while expecting the old hit chance can turn a manageable fight into a costly one.
Crafting belongs in this preparation loop. Read the recipes and compare what you can make with the supplies you repeatedly need. A crafted item is useful when it supports your actual weapon or recovery plan. Collecting every material without knowing what it will become is less helpful than understanding one practical recipe.
Position first, then judge the shot
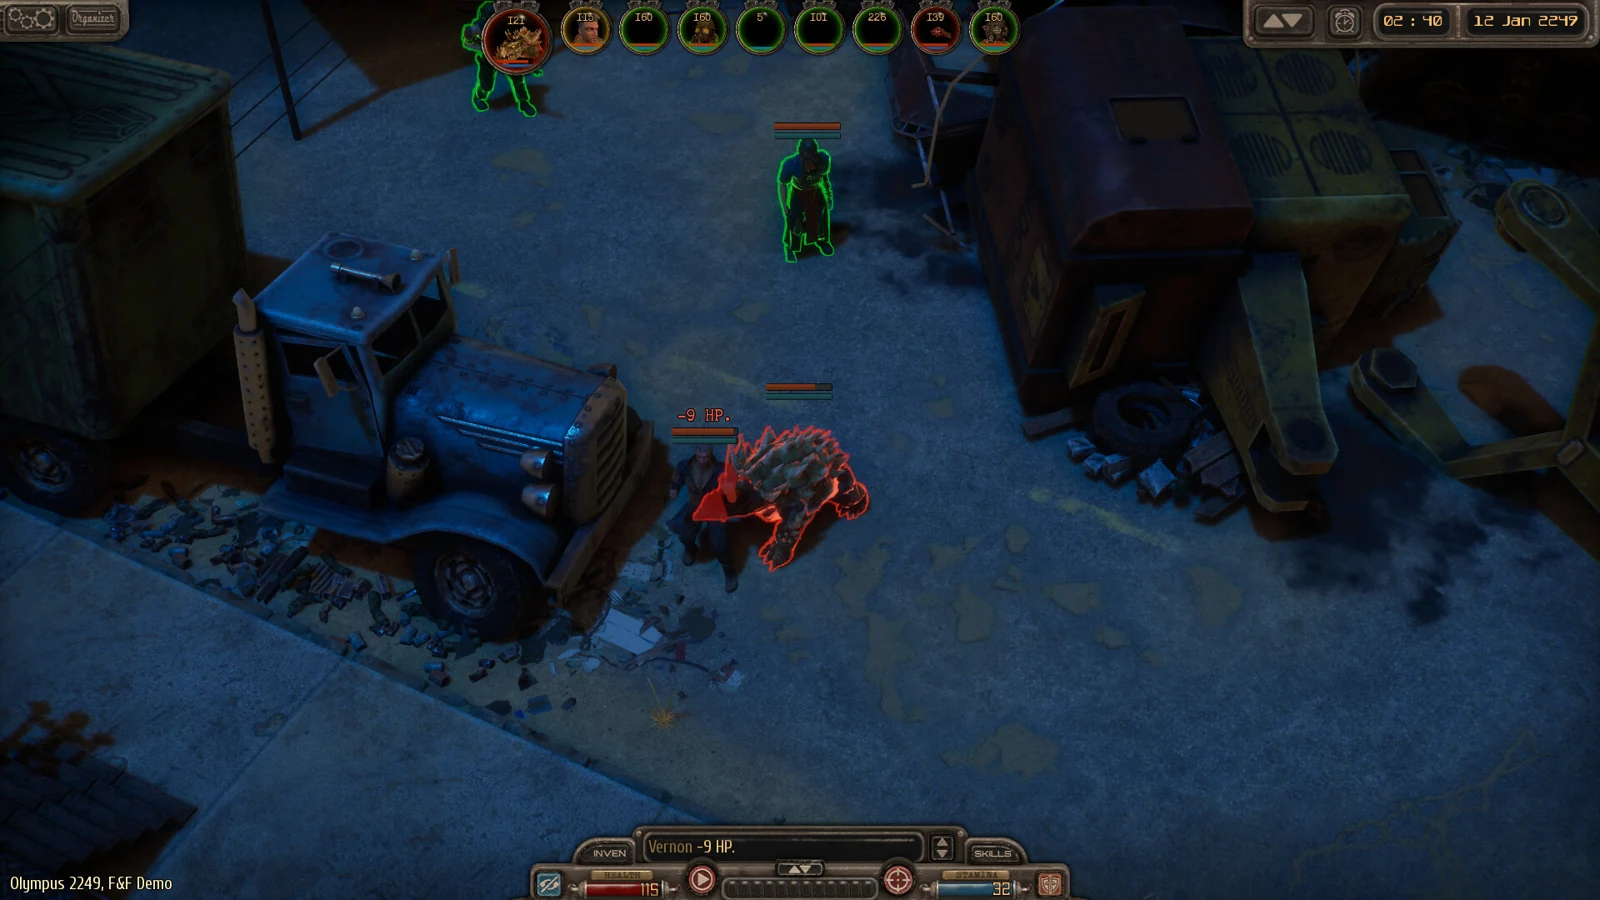
Obstacles matter because lines of fire matter. The combat system does not attach your character to a wall like XCOM. Check the real path between attacker and target rather than assuming every nearby object grants a familiar cover state.
Before moving, ask which enemies will still be able to attack the destination. Moving can penalize your next shot, so check the attack again after changing position. Critical wounds can add another reason why the shot differs from what you expected at the start of the turn.
High ground can be worth spending a turn to reach, according to the combat diary. Compare that potential benefit with the route and the exposure required to get there. A better shooting position is useful only if reaching it does not leave your character in a worse situation.
Sometimes the best opening is to limit incoming fire instead of immediately doing damage. A position that lets several enemies attack you can be expensive even when your own shot looks good. Aim to create a fight your character can sustain over the next turn, not merely an impressive first attack.
Give stamina a job
Stamina powers abilities and aim mode. Aimed attacks can target body parts and disarm an enemy. Pick them because the intended result changes the fight: stopping a dangerous weapon or limiting a threat can be more valuable than a routine attack.
Do not spend stamina without considering what comes next. A targeted attack can leave you with fewer options if an enemy reaches you. The developer demonstrates a kick that creates space; whether your character has that ability is something to check in the current build, not assume from another character's footage.
The developer also recommends stamina maneuvers that avoid spending AP and saving AP for the following turn. Compare an ability with ordinary movement, and consider whether another immediate action really offers better value than preserving resources. Exact costs belong to the available action's display.
After each action, reassess. An aimed attack is not a guaranteed outcome, and an enemy may still be able to use the threat you tried to stop. Build the next action around what happened rather than what you hoped would happen. The combat guide expands this into a turn checklist.
Use hazards carefully
Explosive barrels and unstable power nodes can affect groups. Luring opponents toward a hazard may be more effective than trading individual shots. The value comes from the enemies' position and your ability to trigger the effect at the useful moment.
Before doing so, check your own character and any allies. A powerful environmental effect is not helpful if its area also creates a worse problem for you. Think about the turn needed to set it up, the obstacle between your weapon and the hazard, and whether the targets will still be in place.
Temporary companions can improve survival odds, but you cannot manage their gear or leveling. Treat them as help during the relevant sequence rather than a second character build you fully control. The launch roadmap includes reducing allied shots that hit the player in close combat, so avoid standing between a companion and their target when possible.
Do not take on raids merely because they offer equipment money. The developer presents them as an option for a leveled, armed character. If ordinary encounters already consume most of your supplies, improve preparation and recovery before increasing the number of fights.
Recover health and treat injuries separately
Advancing time alone does not restore health in Olympus 2249. The developer explains that rations support healing and that special resting places make recovery more efficient. If waiting appears ineffective, check the recovery conditions rather than repeatedly moving the clock forward.
Injuries have their own requirements. Some improve through ordinary rest; others need medical equipment and benefit from the matching skill. A character can need treatment even when you have dealt with part of the health problem. Read the condition instead of judging readiness only by the main bar.
After a fight, inspect health and wounds, review your recovery supplies and find a suitable rest opportunity when available. Deal with treatment needs before traveling into another encounter. Then check weapon supplies and useful crafted items. This order prevents the next fight from starting with several hidden disadvantages left over from the last one.
Medical specialization gives the character a reason to engage with treatment, but does not make every injury disappear. As with repairs, examine the problem and use the appropriate action. A profession creates options; you still need to understand the task being performed.
Keep a save before a consequential sequence
Use the manual saving options currently available. Quicksave is a developer plan at launch, and a player's F5 request is not evidence that the binding works. Check the menu before relying on a shortcut from another RPG.
Save before a conversation where you expect a major branch or before a risky sequence. Keep enough context in your own mind to know what the save precedes: a faction decision, a trip or the start of a fight. A useful save is one you can return to without reconstructing the entire situation.
The launch roadmap lists a control lock from clicking a ladder during the Creditor's approach. It also names problems during the Perfect One meeting and feedback typing. Check the current Early Access notes before assuming a frozen interaction is another quest requirement.
If you report a problem in the official community, include the current version, relevant objective and profession. Those details distinguish a branch condition from a bug. Avoid changing several build or route choices at once while diagnosing a block, because then it becomes harder to tell what solved it.
Decide when a restart is useful
A restart is useful when you understand a trade-off and want a different kind of run. Changing your profession to explore another opening, or choosing a different karma direction to see new work, fits the game's replay structure.
Restarting immediately after one refused interaction can hide the lesson. First check the organizer, requirements and alternate paths. A Tech route refusing a Criminal character does not establish that the Criminal character is unable to progress.
Keep notes about choices you want to try next time instead of forcing them into the current character. That makes the first run a coherent journey and gives the next one a purpose. You can compare a different profession or personality without expecting every new quest to have been available before.
Your first-session checklist
- Choose a preset or a custom build with a clear purpose.
- Read both specializations and the paired-attribute limits.
- Follow the opening conversations and record the named destination.
- Check the organizer and map before wandering into a new area.
- Match the tutorial route to your profession.
- Explore for recipes, supplies and visually hidden stashes.
- Compare position, firing modes, AP and stamina before acting.
- Recover health and treat injuries before the next encounter.
- Keep a manual save before risky or consequential sequences.
- Let another run explore the routes your current character closes.
Official reading
Roleplaying diary, navigation diary, combat diary, lore diary and developer launch-content discussion.