Combat / OLYMPUS 2249
Combat, stamina & healing
Check lines of fire before moving, compare firing modes, and preserve stamina for abilities or aimed attacks. Waiting alone does not restore health.
Olympus 2249 fights reward preparation and positioning. Before spending a turn moving or firing, check what blocks the shot, how movement will affect your aim, and whether stamina can solve the problem more efficiently. Afterward, check injuries as well as health: advancing the clock alone does not restore health.
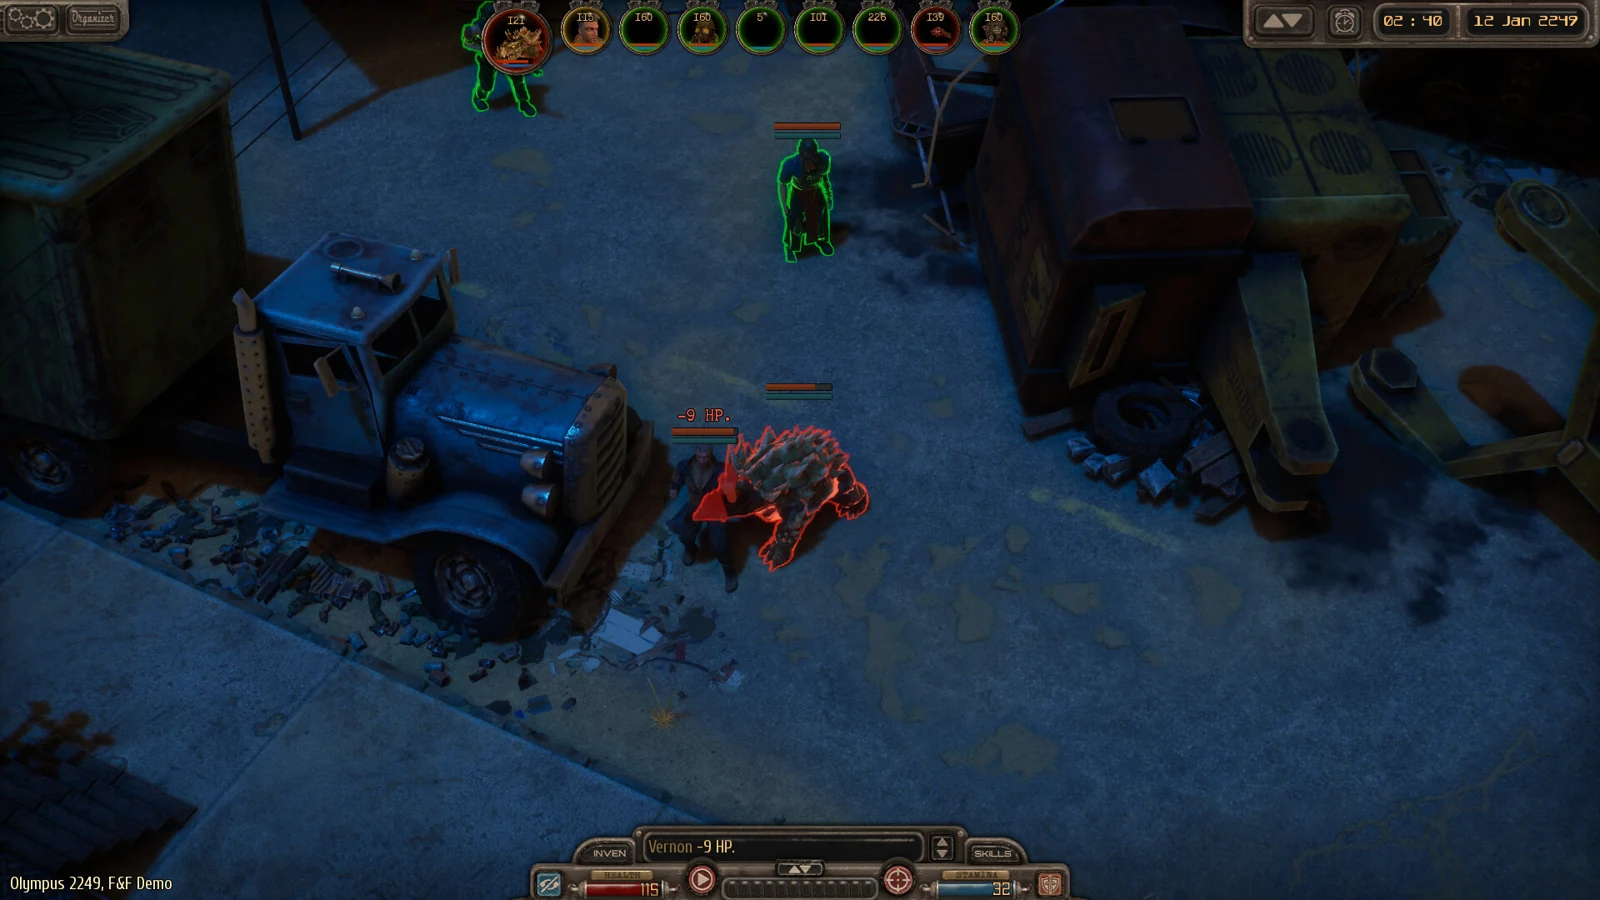
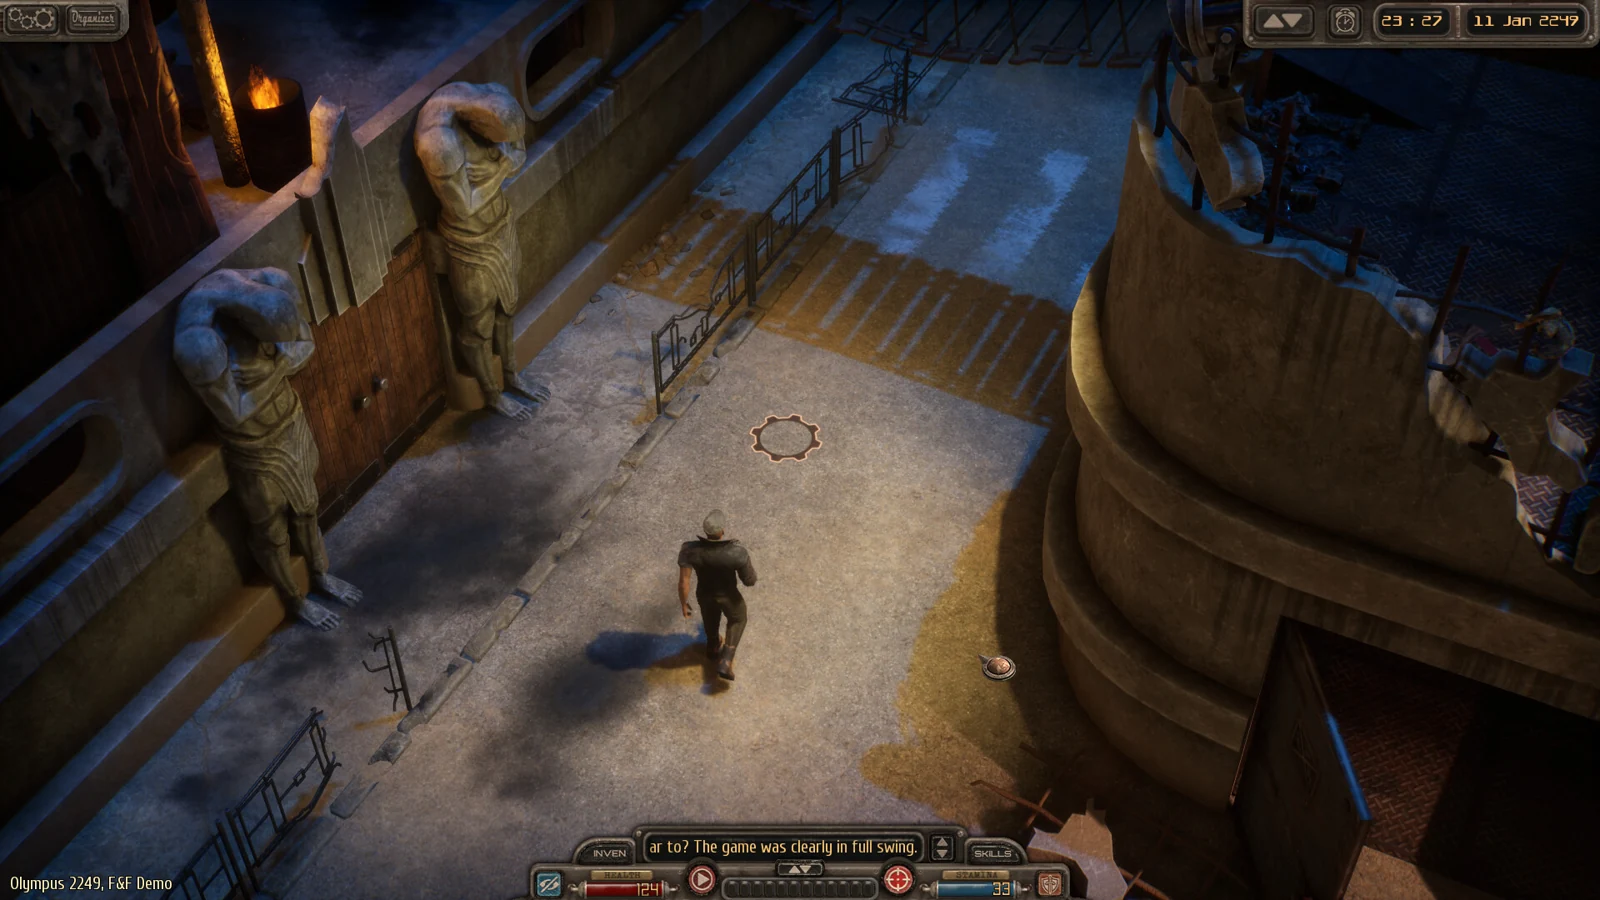
The battlefield, turn order and resource display all matter. Keep the full scene in view before choosing an action.
Read the battlefield before spending AP
Ask what can hit you from the position you intend to occupy. Obstacles affect lines of fire, but this is not a system where a character attaches to a wall in the manner of XCOM. Judge the actual scene and available shot rather than assuming a nearby object grants a particular bonus.
Inspect the nearest threats, find a position that limits their shots and consider whether changing elevation is worth the turn. The developer notes that taking high ground can pay off more than firing immediately. That does not make every higher position safe: the route there and the enemies who can still see you matter.
Moving can penalize shooting, and critical wounds also change effectiveness. Recheck the shot after moving. A plan based on the number shown before the movement may no longer be the same plan afterward.
Action points and stamina solve different problems
AP limits ordinary turn choices. Stamina powers special combat options, including aimed attacks and abilities that influence the battlefield. Treat both resources as part of one plan.
Responding to a player asking about AP, the developer recommends different firing modes, stamina maneuvers without spending AP, and saving AP for the next turn. Agility can increase AP, but the importance of extra AP depends on the build.
- Inspect the firing modes offered by the equipped weapon.
- Compare the result and cost of your intended mode.
- Check whether a stamina ability can handle movement or a nearby threat.
- Leave resources for the next turn when another immediate action offers poor value.
The developer gives a two-shot mode as an example of AP efficiency. Not every weapon necessarily has that mode, and it is not always the right choice. Read the options on the weapon in your hands.
Use aimed attacks for a purpose
Aim mode allows attacks on body parts and can disarm an enemy, but costs stamina. Before selecting a limb, decide what you want to stop: a dangerous weapon, movement or another immediate threat.
Aimed attacks are useful when their outcome changes the fight. Spending stamina on a body-part attack merely because it is available may leave you without an ability you need when an opponent gets close. If a normal attack addresses the threat, compare that simpler action with the extra cost.
Do not treat a targeted shot as a guaranteed effect. Your character, weapon, penalties and the shot still matter. Reassess afterward rather than spending the remaining turn as if the desired result had already happened.
Make the environment part of the plan
Fuel barrels and unstable power nodes affect groups. The combat diary recommends luring enemies toward a hazard when that is better than trading shots. Interacting with fuel barrels is also part of the store description.
Before triggering a hazard, check your own character and any allies. A large effect is valuable only if placement helps you. Consider whether the enemy will remain in range, whether an obstacle blocks the intended shot and whether you can survive the turn needed to set it up.
An enemy getting close does not necessarily mean abandoning a ranged character's plan. The developer demonstrates a stamina-funded kick that creates space. Read the abilities your character has; do not assume every starting build begins with the same escape tool.
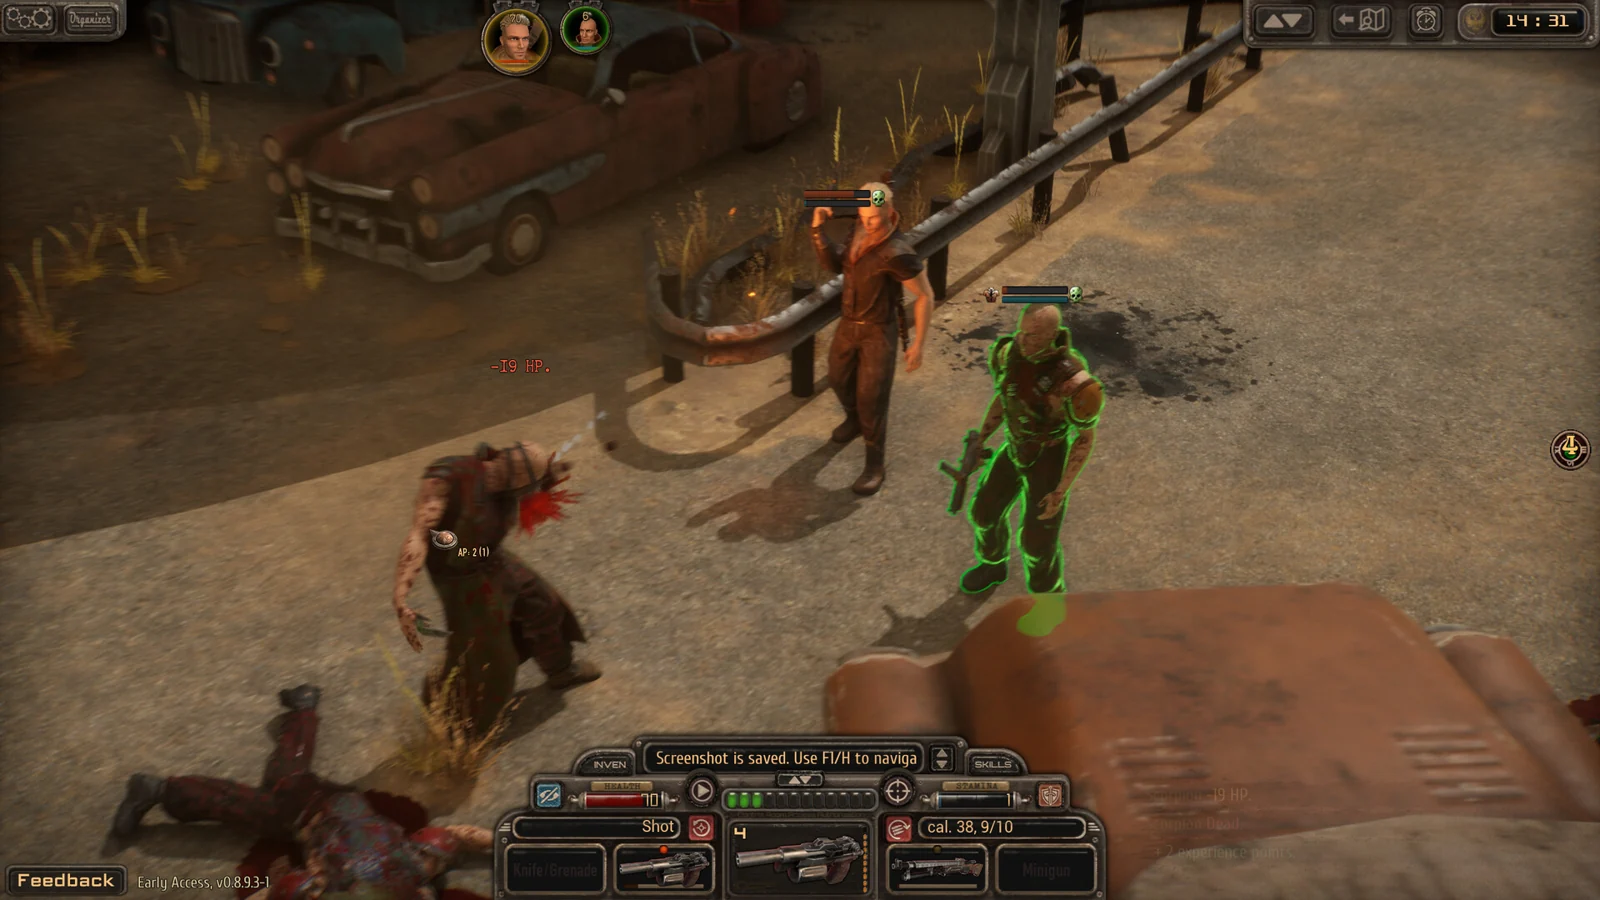
Spacing and obstacles can change the value of a shot. A clear line to the target matters more than proximity alone.
Temporary companions are help, not a second build
Companions assist during some parts of the game. The combat diary says you cannot manage their equipment or leveling. Plan around their presence without expecting a full party equipment system.
The launch roadmap includes work to reduce allied shots hitting the player in close combat. While that fix is pending, avoid standing between an ally and a nearby target. A crowded melee can make a position less safe even when the nearby character is friendly.
Why waiting does not heal you
Health recovery and injury recovery are separate concerns. Advancing time by itself does not restore health. Rations support recovery, and special resting places make the process more efficient.
Some injuries recover with ordinary rest. Others require medical equipment and benefit from the corresponding skill. If health or a wound persists after waiting, spending more time the same way may not address what is missing.
- Check health and injury information after the fight.
- Check recovery supplies, including rations.
- Find an appropriate resting place when available.
- Treat injuries that need equipment instead of repeatedly advancing time.
- Review ammunition and useful crafted supplies before the next fight.
A medical profession is valuable, but does not make every wound vanish automatically. Read the injury and treatment, then use equipment that matches the problem.
Prepare for the next fight
Crafting is part of preparation. Explore for recipes and supplies before a costly encounter. Check what your character can make, which materials it requires and whether the result serves your weapon or recovery plan.
Raids provide additional fights against raider gangs and a way to earn equipment money. The developer frames them as an activity for a properly leveled and armed character. If ordinary encounters use most of your supplies, improve the recovery loop before treating raids as an income shortcut.
A short turn checklist
- Before moving: will this position reduce incoming fire, and what will it do to my shot?
- Before firing: is there a more efficient mode, and is the line clear?
- Before spending stamina: which ability might I need next turn?
- Before a hazard: are my character and allies outside its dangerous area?
- After combat: do I need health recovery, injury treatment or both?
For attribute trade-offs, see character creation. For the opening plan, use the beginner guide.
Further reading
Combat diary, AP and firing-mode discussion and hotfix plans.